Wednesday, October 7, 2009

As promised, if not a bit late...

This is a series of photographs my husband took while Sally Phillips and I cleaned the action. Sally also shaved the hammer felts and made various adjustments after the action was back in the piano.

It is amazing to hear what a difference correct placement of the action within the piano case can make. There is quite a bit of leeway left to right, and the right-hand end block can be adjusted to hold the action in the correct spot. We found that by moving the action over slightly, the sound was really improved across the whole gamut.

The polished capstans and cleaned key pins made a noticeable difference in the piano's touch, and the shaved hammers resulted in a beautiful tone -- as far as 40-year-old strings will allow, of course! New strings will have to wait a few years.

Here are some photographs with explanations. Click on a picture to view it in full resolution. Enjoy!


We carried the piano action into the dining room and set it up on the table. The workspace was just right. In this picture, Sally was polishing capstan surfaces to remove burrs.
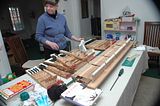
Disassembled action on the table

See how shiny those brass capstans look after they are polished? The action feels so much faster now.
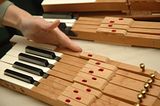
Keys after polishing the capstans

These keys were waiting on deck for their "spa treatment."
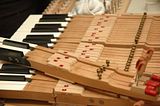
Keys with unpolished capstans

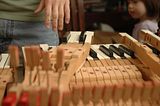
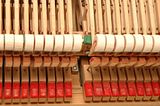
The back ends of the keys, with the red felt backstops that "catch" the hammers.
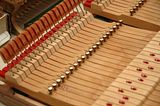
Red felt backstops

Hammer felts after they've been shaved... look closely at the penciled-in numbers.
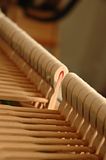
Row of hammers

More keys to clean...

The piano looks very odd without its "teeth."
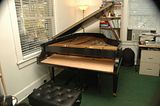
Pretty self-explanatory...

Here we are cleaning the key pins. We also put a small amount of lubricant on each pin to further reduce friction in the keys.
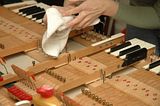
cleaning the pins the keys rest upon

Here I am cleaning pins (nice part, Adrienne).
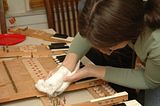
Adrienne cleaning pins

We carefully vacuumed the felt and the entire area surrounding the keys.
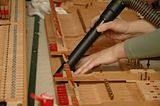
Carefully vacuuming the felt

We replaced keys as we cleaned, checking the numbers engraved in the wood, and penciling them in so they would be easier to read. Each key is at a slightly different angle, so it is crucial to put them back in the correct order.
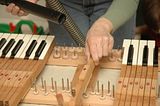
Replacing the keys as we cleaned

Here, Sally is reattaching the hammer mechanism to the key action. I was not really being very helpful, but she had everything under control.
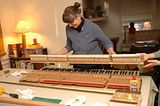
Sally reattaching the hammer mechanism

The action fully reassembled and ready to place back into the piano case.
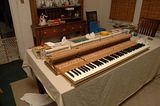
Reassembled action

More freshly shaved hammer felts.
Freshly shaved hammer felts

Sally checks the placement of the action and makes several small adjustments before replacing the keyslip, fallboard, and end blocks.
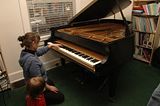
Checking the placement

Sunday, April 5, 2009

I really wasn't shopping for a piano . . .

Really I wasn't, despite my frequent lamenting over not having an excellent piano for myself and my students. We would just have to suffer with the console piano forever, so it seemed. One afternoon, just on a lark, I decided to search online for grand pianos for sale in the Lexington area. Lo and behold, there was an ad for a very old "rebuilt" Starr grand for under $4,000. I thought this might be worth looking at.

Well, I was wrong. THAT was not going to become MY piano.

I have to thank Sally Phillips for steering me in the right direction. After posting a question on Piano World about whether I should consider this piano, she sent me a PM offering her help. We chatted on the phone and she had lots of information on pianos and purchasing a piano. What luck! As it turned out, there was a warehouse full of pianos from the University of Cincinnati's Conservatory of Music at Premier Pianos in West Chester, Ohio. After becoming an all-Steinway school, CCM had traded in all of their existing pianos. Preparing myself to be disappointed in the appearance of these university pianos (having played quite a number of school pianos, I knew they wouldn't be pristine), and steeling myself for the very real possibility that any piano I wanted would be well-outside my actually non-existent budget, I scheduled an appointment and was on my way up I-75 to try out some pianos.

Greg Kottmann, the president of Premier Pianos, couldn't have been nicer. I was able to play a dozen or so pianos that morning. There were 9' Steinways, 7' Baldwins from the piano faculty studios, and several 6'3" Baldwin grands. Those were the pianos that I was drawn to.

One in particular was not in especially rough shape, and had a lovely sound. I thought there was no way we could afford it, but the price was right! It was about the same cost as the piano I had found online, only in playable condition. Sally checked it out thoroughly for me, and even in the cold, dry weather after a move it had held its tune remarkably well. I was sold.

Then we had to wait a week for financing through our bank. A very long several days, but worth it!

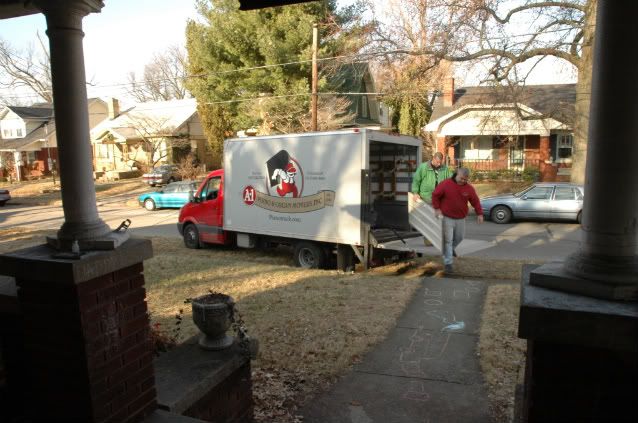
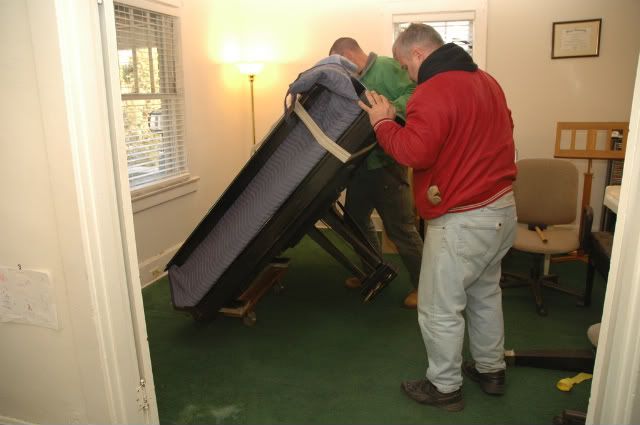
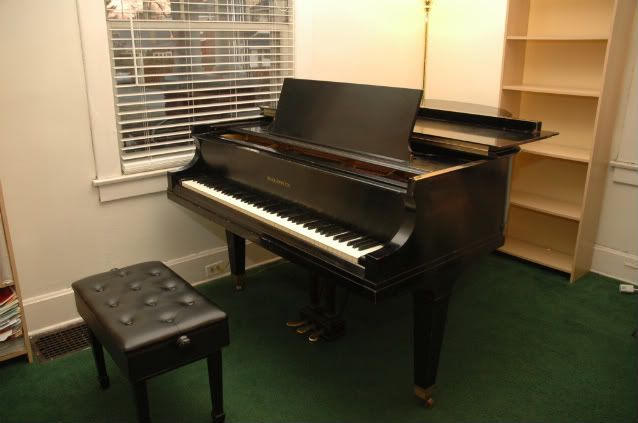
On January 24th, 2009 my "new" piano, a 1968 Baldwin L 6'3" grand, was delivered to our house. The entire process of relocating the piano from the back of the truck to its new home in my studio took all of ten minutes. It looked and sounded even better that I remembered (no buyer's remorse here)!

Here are some photographs from "moving day":

The truck in front of our house. A1 Piano Movers out of Dayton, OH:
Photobucket

There it is, all wrapped up in the truck:


Photobucket

Sitting in its new home:
Photobucket

About two weeks later (after the big ice storm), Sally and I began the work of cleaning and regulating the action. That will be in my next post, with lots of pictures!